Necessary Materials for Making a Dog Leash
To embark on your DIY dog leash project, you’ll need a few key materials. Ensure you have the following items:
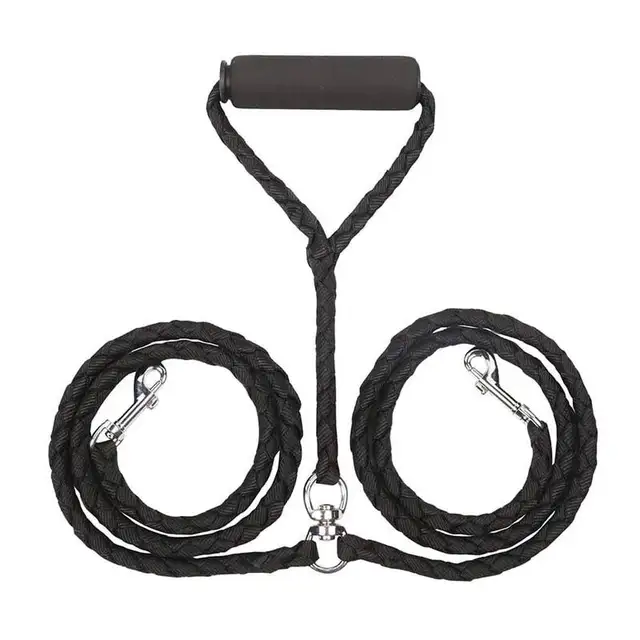
- Rope or Webbing: Choose a sturdy material suitable for your dog’s size and strength. Nylon or cotton are popular choices.
- Measuring Tape: To determine the correct length of the leash.
- Scissors: For cutting the rope or webbing to the desired length.
- Clip or Hook: This is essential for attaching the leash to your dog’s collar or harness.
- Lighter: If you’re using nylon rope, a lighter can be used to heat-seal the ends and prevent fraying.
- Sewing Kit or Glue: Depending on the material, you may need a sewing kit or strong glue to secure the rope and clip together.
Choose materials that match your ‘how to make dog leashes’ goal and your pet’s needs. It’s best to opt for weather-resistant and durable items that can withstand daily use. Remember to keep your tools organized and within reach to streamline the leash-making process.
Choosing the Right Type of Rope or Material
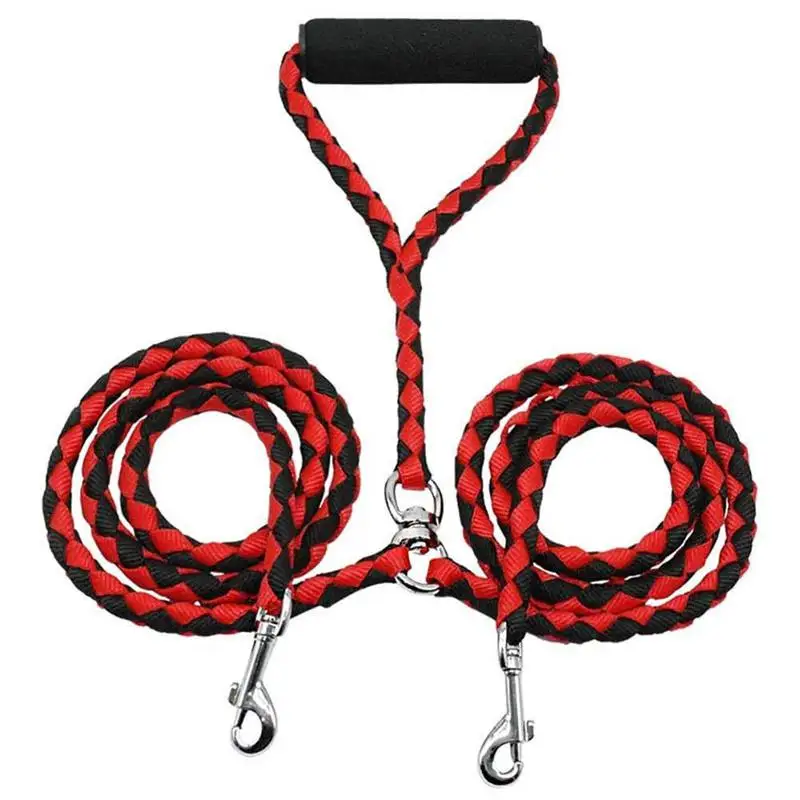
When you learn how to make dog leashes, selecting the right rope or webbing is crucial. The material you choose must cater to your dog’s size, strength, and energy levels. Here are the common types of materials you can consider:
- Nylon: Nylon is strong, durable, and weather-resistant, making it ideal for active dogs. It’s also easy to clean and comes in various colors.
- Polyester: This material is similar to nylon but is slightly softer to the touch. It’s also durable and less likely to fade in the sun.
- Cotton: If your dog has sensitive skin or you prefer natural fibers, cotton is a comfortable choice. Bear in mind that cotton is not as durable as synthetic materials.
- Leather: A classic option, leather is strong and stylish but requires more maintenance to keep it in good condition.
- Biothane: A modern alternative to leather, biothane is waterproof and easy to clean. It’s a great option for dogs who love to swim or play in mud.
Consider the environment where you’ll use the leash. If you frequently walk your dog in wet conditions, choose a water-resistant material. For dogs that pull, a sturdy, strong material like nylon or leather is best. Your choice should also reflect the intensity of your dog’s activities. A casual walker might do well with cotton, while an adventurous dog may need nylon or biothane. Keep these tips in mind, and you’re on your way to making a leash that’s both practical and personal.
Step-by-Step Instructions to Make a Dog Leash
When it’s time to make your dog leash, follow these clear steps for perfect results. Paying attention to detail ensures a high-quality, durable leash suited for your dog’s daily adventures.
Selecting the Length and Width
When learning how to make dog leashes, getting the right size is crucial. Measure your dog’s usual leash range and add a few inches for comfort. Consider your dog’s height and pulling strength. A too-long leash can be bulky, while a too-short one restricts movement. Width is also vital. Heavier dogs need wider leashes for strength, while lighter dogs could do with slim ones. A good rule is to use a 1-inch width for large dogs, and 0.5 to 0.75 inches for smaller breeds.
Cutting and Preparing the Material
First, cut your chosen material to the specified length using sharp scissors. This creates clean cuts, essential for a neat finish. If using nylon, briefly pass a lighter over the ends to seal them and prevent fraying. Make sure you work in a well-ventilated area when using a lighter. Lay out the tools and materials so everything is within reach, simplifying the next steps.
Adding a Clip or Hook for Attachment
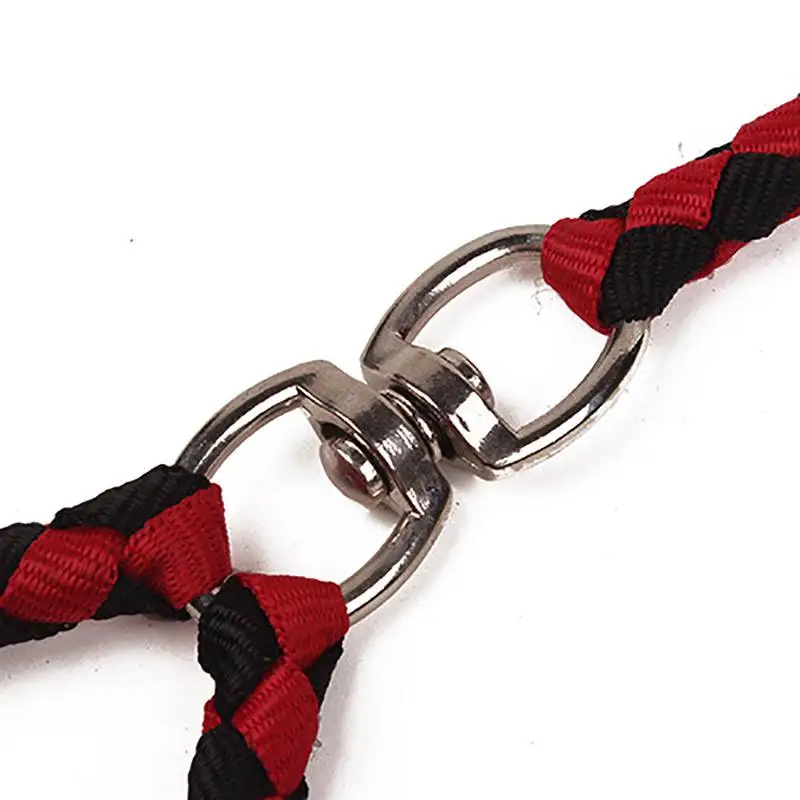
Attaching a clip or hook is a vital step in how to make dog leashes. This hardware connects the leash to your dog’s collar or harness. Make sure you choose a strong and reliable clip that can withstand your dog’s pulling and general activity. Here’s how you can add it securely:
- Position the Clip: Lay the cut material flat and place the clip at one end.
- Fold the Material: Fold over the end of the leash material to create a loop around the clip.
- Secure the Loop: Use your sewing kit or strong glue to fasten the loop in place. If sewing, ensure tight stitches for durability.
- Check the Hold: Give the clip a tug to make sure it’s securely attached. If it feels loose, reinforce it with additional stitching or glue.
Choose a clip or hook made from metal for longevity. Avoid plastic clips as they may break with heavy use. Ensure the loop is snug but not too tight, maintaining the clip’s ability to swivel freely. This freedom of movement is crucial to prevent the leash from tangling during walks. By following these steps, DIY leash will be both functional and secure.
Reinforcing the Leash for Durability
Once your leash is assembled, reinforcing its durability is crucial. This step ensures that your DIY dog leash can endure strenuous activities and last for a long time. Here are effective methods to strengthen your leash:
- Double Stitching: Use a sewing machine or hand stitch to add a second layer of stitches. This reinforces points that bear the most tension, particularly around the clip or hook.
- Add Reinforcement Strips: If you used nylon or polyester, consider adding a strip of the same material along the leash. This doubles the material’s thickness and strength.
- Use Reinforcement Tape: Special reinforcement tape made for fabrics can also be used. Apply this tape along the leash’s length or at stress points for added support.
- Regular Checks: Periodically inspect the leash for signs of wear or loose stitches. Address these issues promptly to maintain leash integrity.
By taking these extra steps, you ensure that the leash remains strong and reliable for every walk and adventure.
Customizing the Leash with Colors and Patterns
Personalizing your homemade dog leash is a rewarding final touch. Here are ways to add a splash of color and patterns:
- Choose Vibrant Colors: Select rope or webbing in your favorite color or one that highlights your dog’s coat. Nylon and polyester offer various hues.
- Patterned Webbing: Look for webbing with pre-printed patterns such as stripes, polka dots, or paw prints. This can create a leash with a fun look.
- Fabric Covers: Sew a fabric strip around the leash for added pattern and texture. This works well with plain nylon or cotton leashes.
- Dyeing: If you’re using a natural material like cotton, you could dye the leash at home. Always follow dye package instructions carefully.
- Accessorizing: Attach charms, beads, or a personalized name tag to the leash handle. These add character and make your leash unique.
Customizing your leash boosts its aesthetic appeal and can reflect your style and your pet’s personality. Remember, how to make dog leashes is not just about the function; it’s also about creating a one-of-a-kind accessory for your beloved pet. Use your creativity and enjoy personalizing your dog leash!
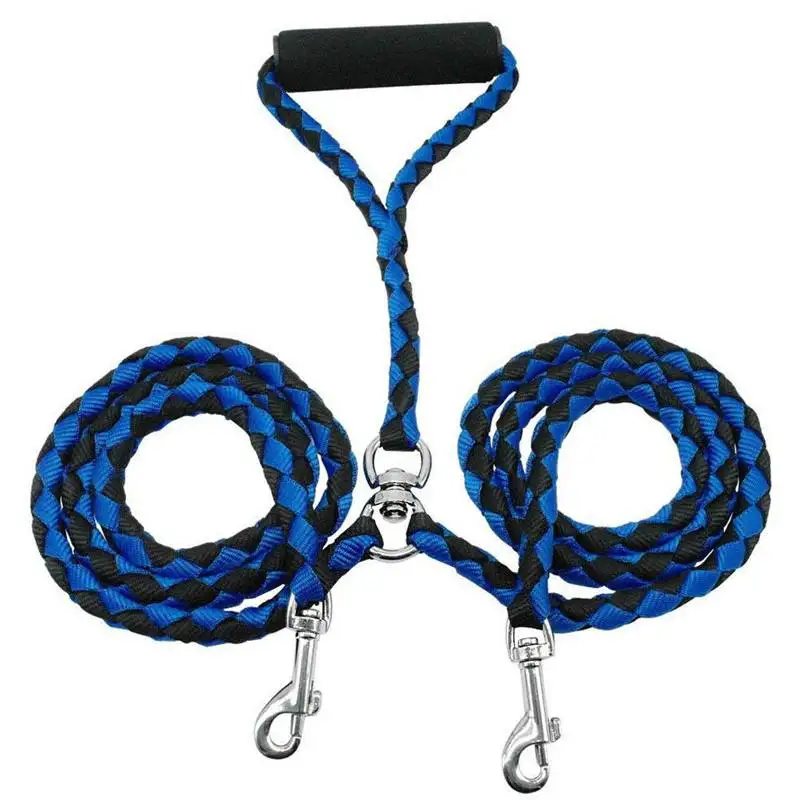
Tips for Maintaining Your DIY Dog Leash
Maintaining your DIY dog leash ensures it stays strong and looks good. Follow these simple tips:
- Clean Regularly: Wipe your leash with a damp cloth to remove dirt. Use mild soap for tougher stains.
- Dry Properly: After cleaning, hang the leash away from direct sunlight to air dry. This prevents material damage.
- Store Correctly: When not in use, hang the leash in a cool, dry place. This avoids mold and wear.
- Check for Damage: Look for frays or weak spots often. Fix any issues right away to keep the leash safe.
- Avoid Chemicals: Keep your leash away from harsh chemicals. They can break down the materials faster.
By following these steps, you can keep your homemade dog leash in top condition for a long time. It’s easy to care for and ensures your pet’s safety during walks. Remember to inspect the leash frequently, especially before each use, to spot any wear or damage early. Happy crafting and walking with your furry friend!

