Creating a comfortable and secure space for your dog is a rewarding experience that not only enhances your pet’s quality of life but also strengthens the bond between you and your furry friend. A well-built DIY doghouse is an excellent investment in your pet’s happiness. This guide will provide you with clear, step-by-step instructions to successfully construct a doghouse that fits your canine’s needs, ensuring you have a cozy and functional retreat for your beloved companion.
Understanding the Importance of a Doghouse
Before diving into the DIY process, it’s essential to recognize why a designated space for your dog is so important. A doghouse serves multiple vital purposes. First, it provides shelter from harsh weather conditions, including rain, snow, and extreme heat. This shelter is crucial for keeping your dog comfortable when spending time outdoors.
In addition to weather protection, a kennel offers a secure environment for your pet to rest and relax. Dogs are naturally den animals, meaning they seek out places that feel safe and cozy. Having a space they can call their own helps reduce anxiety and stress, making them feel more secure.
Moreover, a well-constructed doghouse can protect your furry friend from exposure to the elements. This protection is particularly important for preventing health issues related to cold or heat exposure. Hence, building a DIY doghouse not only creates a fun project for you but also showcases your love and commitment to enhancing your pet’s well-being and comfort in their daily life.
Choosing the Right Materials
Selecting the appropriate materials is a crucial step in your DIY doghouse project. The right materials can significantly impact the durability and comfort of the final product. The best doghouses are typically made from wood, which offers excellent insulation and stability. Plywood or cedar boards are excellent choices for construction. These materials are known for their resilience against harsh weather conditions and pests.
It is best to avoid softwoods like pine. Softwoods can warp over time and may not withstand the elements as effectively. They also tend to be less durable compared to hardwood options. Besides wood, consider using screws instead of nails for assembly. Screws provide a more secure and lasting hold, preventing any parts from coming loose over time.
Depending on your location and climate, you may want to enhance your doghouse’s longevity further. Using weather-resistant paint or sealants can protect the exterior from rain and sun damage. By ensuring that you use high-quality materials, you can expect your DIY doghouse to endure the test of time and nature, providing a safe haven for your beloved pet.
Designing the Perfect Doghouse
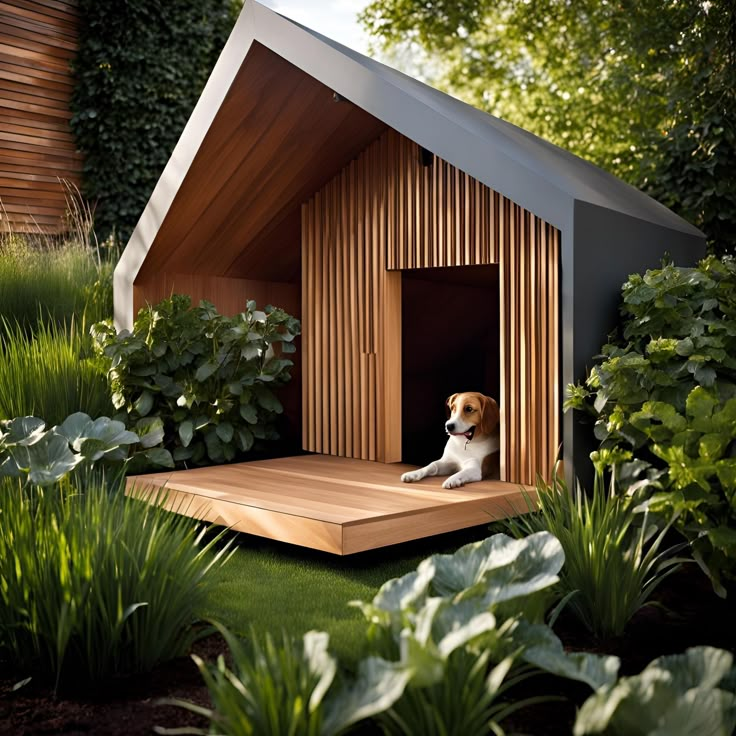
The design of your DIY doghouse will heavily depend on your dog’s size and breed. A smaller dog might require a snug little space, while larger breeds will need a more extensive setup with additional features for comfort. Start by measuring your dog when they are standing or lying down comfortably to determine the correct height, width, and length for the doghouse. Ventures beyond just the basic structure—consider adding ventilation holes, insulation for cold climates, or even a small porch for a sunny nap spot. You could also design it to match your home’s architecture for an aesthetically pleasing look. A well-thought-out design not only ensures comfort for your pet but also enhances your backyard’s appearance.
Gathering Your Tools
Now that you have gathered your materials and designed your doghouse, it’s time to collect the necessary tools. Having the right tools is essential for making your DIY doghouse construction smooth and efficient. One of the primary tools you will need is a circular saw or a hand saw. These will be essential for cutting the wood to the appropriate size.
In addition to a saw, you will require a drill and bits. A drill is necessary for creating holes and securing screws in the walls and floor of the doghouse. Measuring tape is another indispensable tool. It will help ensure all dimensions are accurate and prevent any miscalculations during assembly.
A level is also crucial for keeping everything straight and ensuring that your doghouse stands firmly without wobbling. Don’t forget about sandpaper or a power sander, as these will be helpful for smoothing out any rough edges. This step is important for preventing splinters and ensuring your dog’s safety. By investing time in gathering the correct tools, you simplify the building process and set yourself up for success.
Constructing the Base
The base is arguably one of the most critical components of your DIY doghouse. It must be both sturdy and elevated off the ground. This elevation helps prevent water from pooling inside during rainy conditions. Start by creating a square or rectangular base that aligns with the dimensions calculated for your dog’s size. This step ensures that your pet will have enough room to move around comfortably.
For this bottom frame, use pressure-treated wood. This wood is resistant to moisture and decay, making it ideal for outdoor structures. Assemble the frame securely to create a strong foundation. Once the frame is complete, lay down plywood on top to form a solid floor. This flooring helps provide insulation and keeps your dog warm.
If your doghouse is designed for outdoor use, consider leaving space for drainage holes at the bottom. These holes will allow any water that enters the doghouse to escape quickly, keeping the interior dry and comfortable. By focusing on creating a strong and leveled base, you set the foundation for a durable, long-lasting doghouse that will protect your furry friend from the elements.
Building the Walls
With the base set, you can now move on to constructing the walls of your DIY doghouse. Standing vertical wooden boards up against your base outline the structure’s shape. Ensure that walls are appropriately aligned and are tall enough to provide adequate headroom for your dog. Secure each board with screws, creating a sturdy framework. It’s wise to leave openings for windows or doors if your design incorporates them. Once that’s completed, attach insulation to the inside walls if you live in an area with extreme temperatures. Insulation can keep the interior warm during winter and cool in the summertime, contributing significantly to your dog’s comfort.
Crafting the Roof
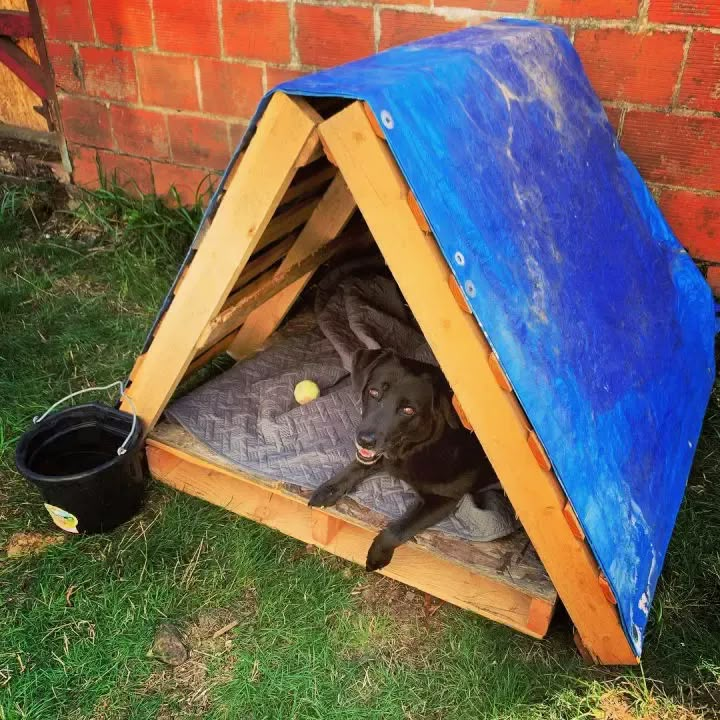
The roof of your DIY doghouse serves two main functions: providing shelter from rain and sun, and assisting in temperature regulation. Opt for a sloped roof to ensure water runoff. To construct it, cut two sections of plywood to create an overhanging roof that extends beyond the walls for added protection from the rain. When attaching the roof, use hinges on one side, allowing for easy access to the interior for cleaning and maintenance. Make sure the roof is securely fastened to withstand strong winds. Additionally, consider utilizing roofing shingles or waterproofing materials to further protect the roof, enhancing the longevity of your DIY doghouse.
Finishing Touches and Customizations
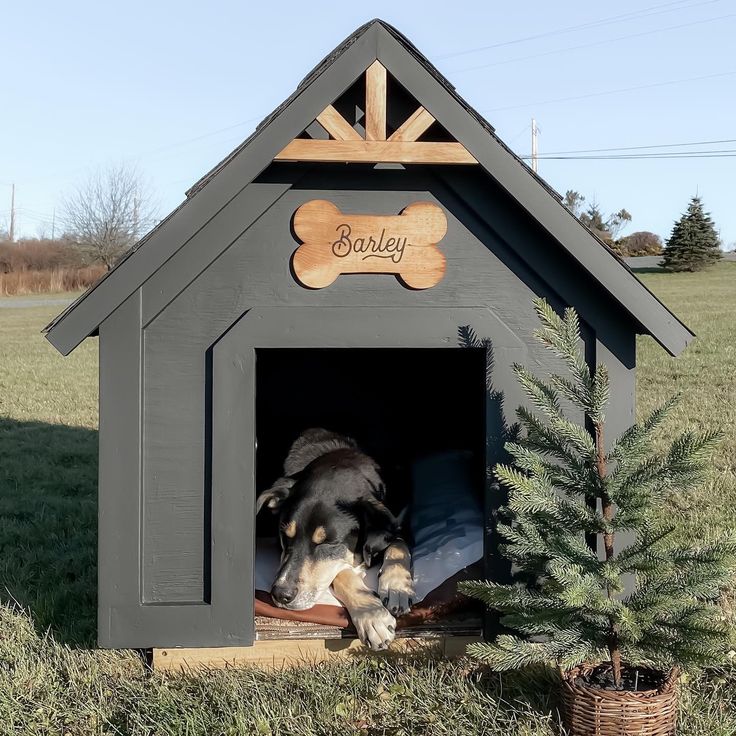
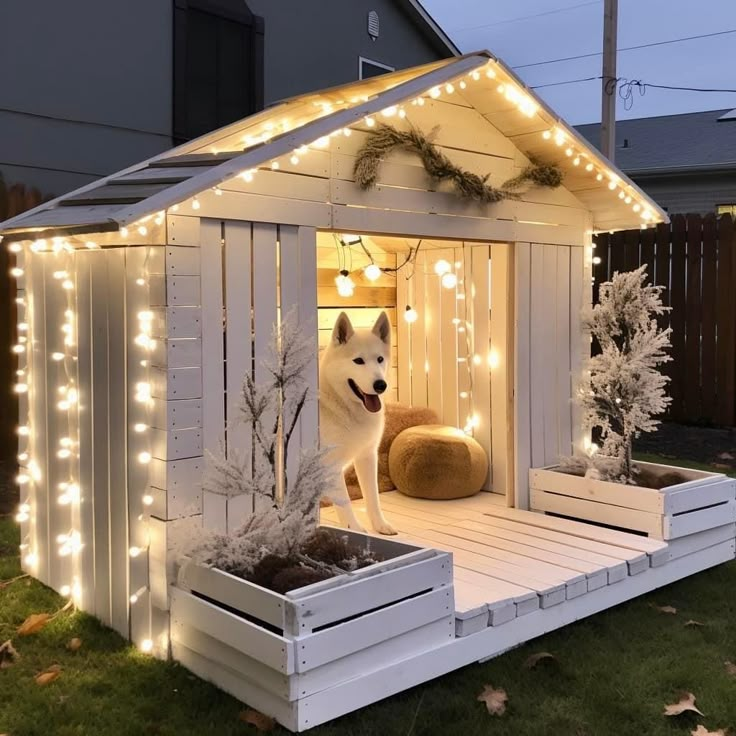
Now that the basic structure of your DIY doghouse is complete, it’s time to add some finishing touches. Any doghouse can become a special retreat for your canine by personalizing it. You may want to paint the exterior with non-toxic paint that matches your home or backyard decor. Adding a nameplate is a delightful touch that gives your doghouse a unique identity. Furthermore, consider placing a cozy bed or blanket inside to create a welcoming atmosphere. By enhancing the doghouse’s appearance and comfort features, you ensure that it will be a beloved space for your dog.
Ensuring Regular Maintenance
Constructing a DIY doghouse is just the first step; regular maintenance is essential to keep it in good condition. Periodic inspections for damages or wear and tear can prevent small issues from turning into significant problems. Clean the interior, removing any debris, old bedding, or droppings to maintain a healthy environment for your dog. Additionally, be mindful of the condition of the roof and walls, checking for signs of rot or damage. Regular maintenance contributes significantly to the longevity of your DIY doghouse, ensuring that it remains a safe, comfortable haven for years to come.
Conclusion
Building a DIY doghouse provides an opportunity for creativity while ensuring your canine companion has a safe, comfortable space that suits their needs. Following the steps outlined above will not only guide you through the construction process but will also ensure that the final product is durable and personalized. With careful planning, the right materials, and regular maintenance, your DIY doghouse will serve as a loving extension of your home, fostering a stronger connection between you and your pet. Embrace this project; your dog will thank you for it!