Introduction: Getting Started with Paracord Crafting
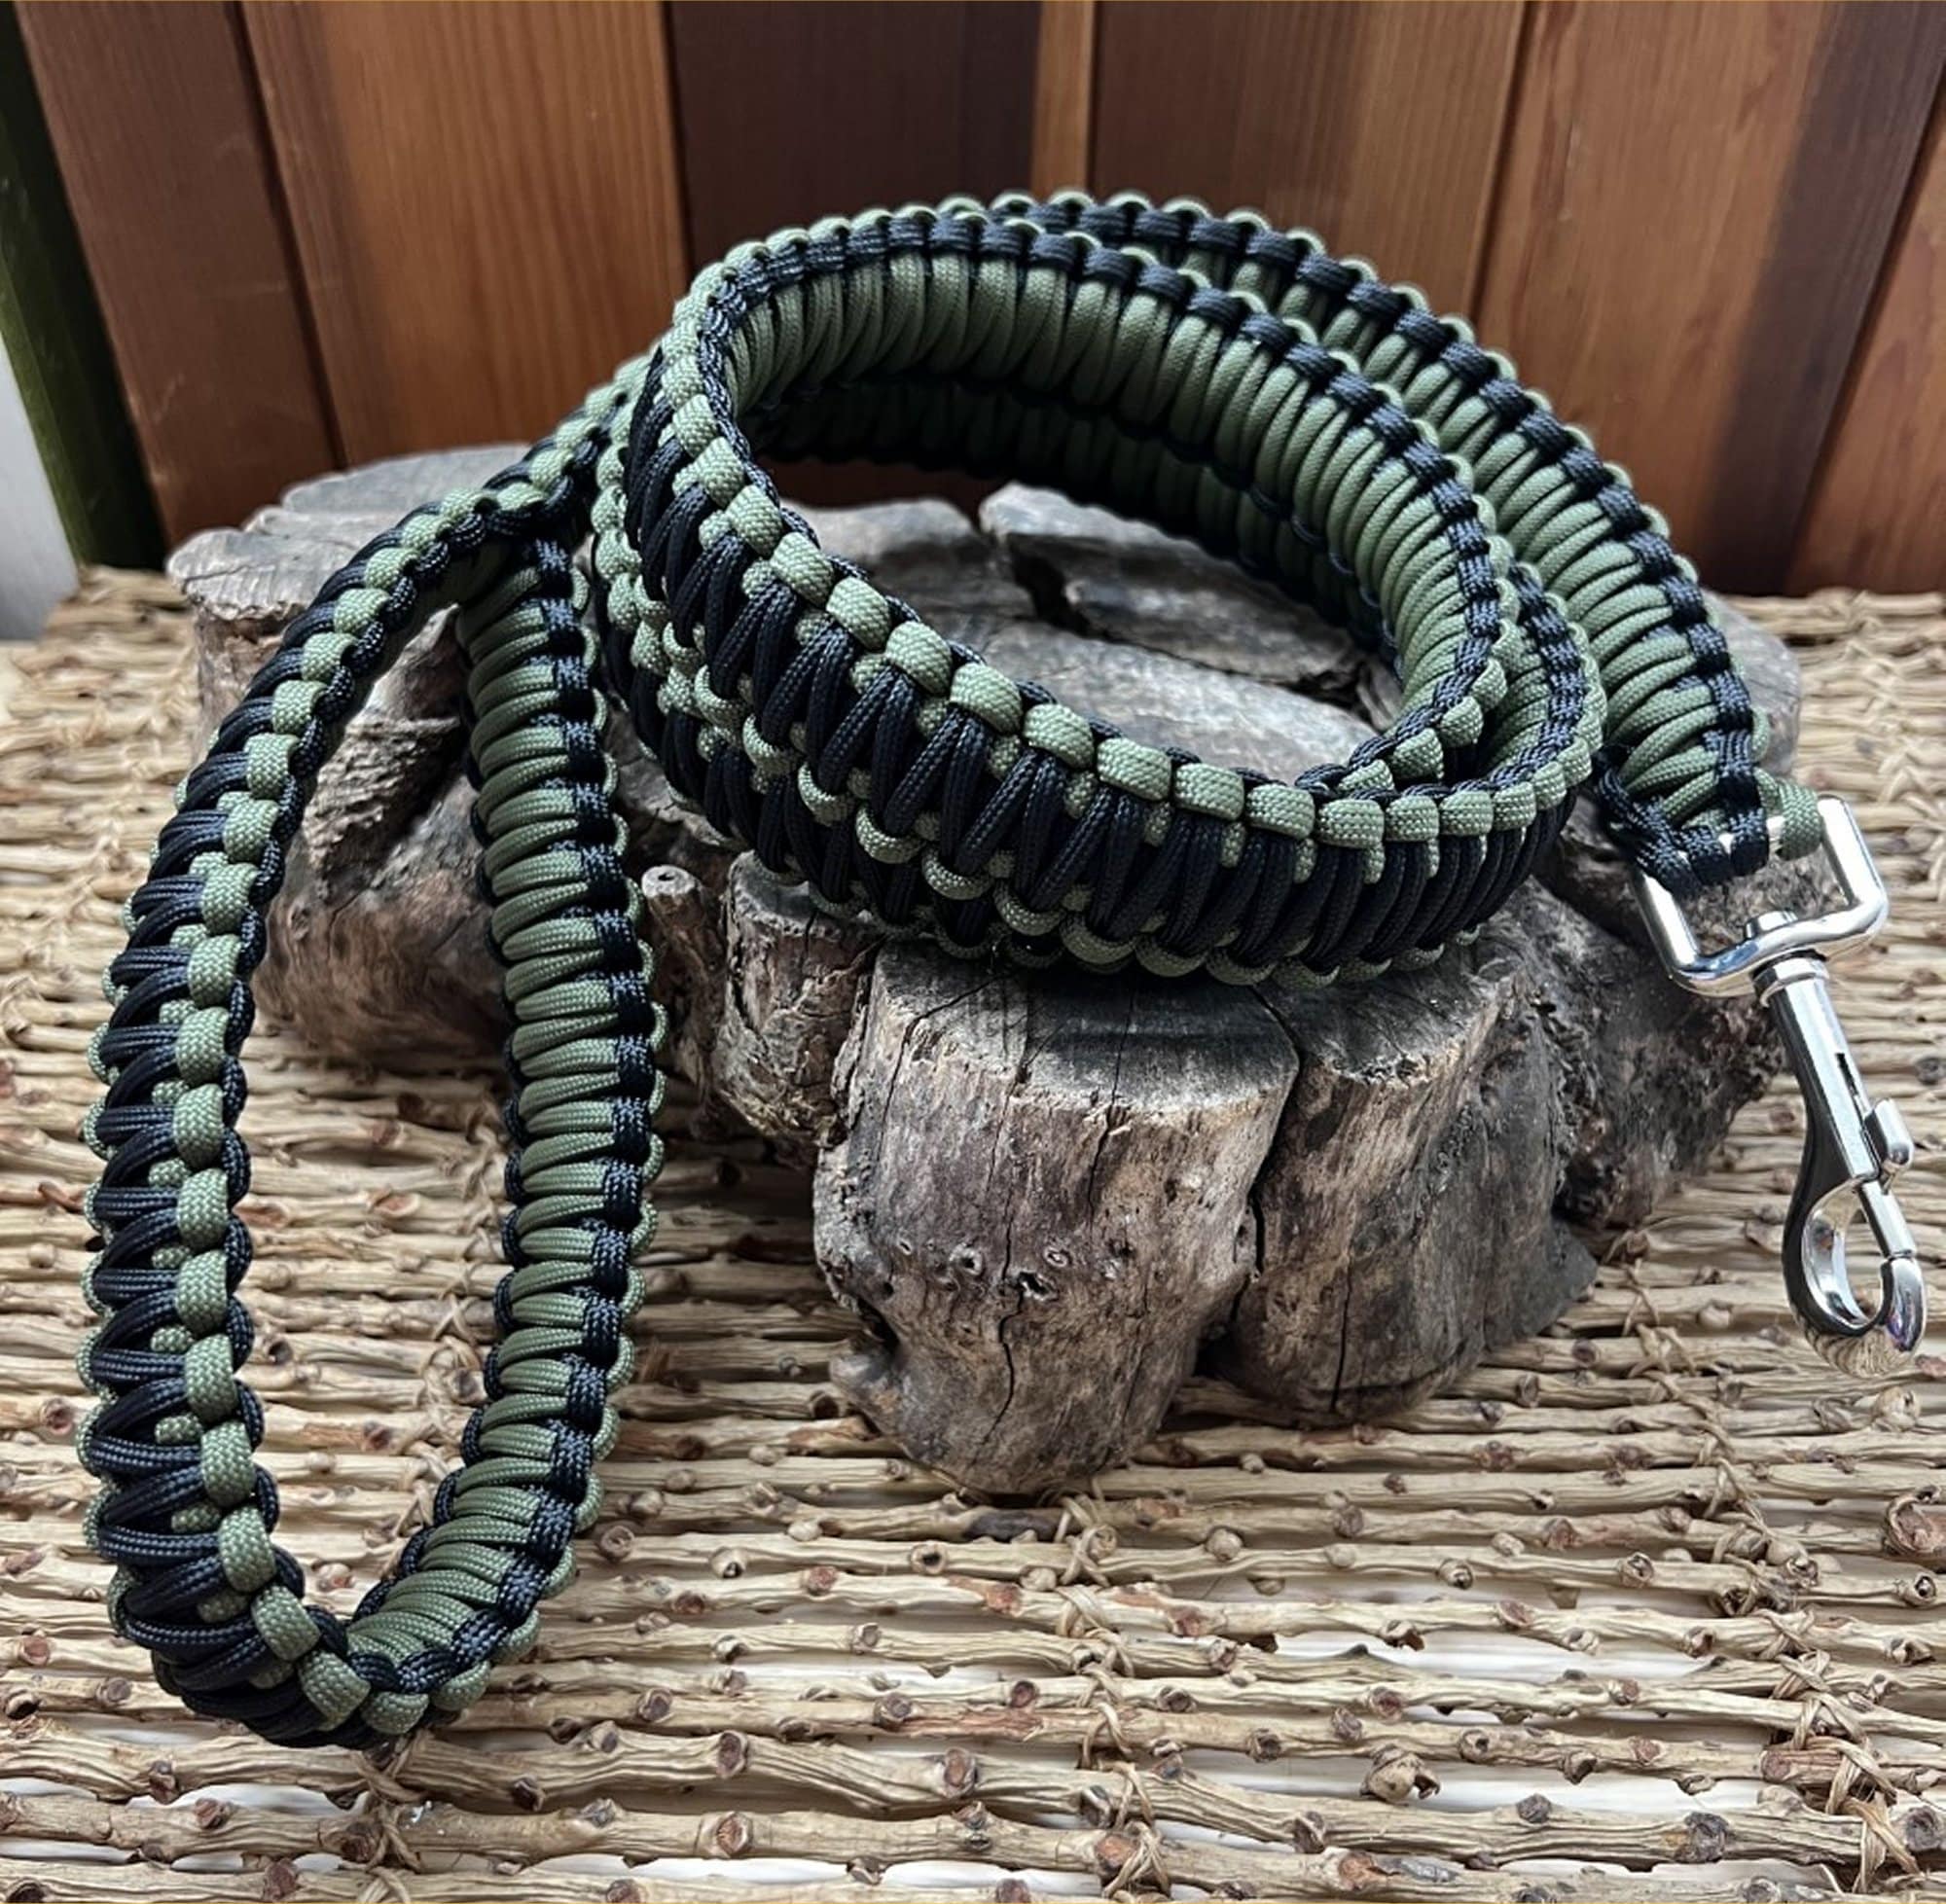
Paracord crafting has gained popularity in recent years due to its versatility and durability. One of the most practical uses of paracord is in making dog leashes. Not only are paracord leashes strong and reliable, but they also allow for customization to match your dog’s personality. In this DIY tutorial, we’ll guide you through the process of crafting your own paracord dog leash step by step.
Materials Needed
Before diving into the crafting process, gather the following materials:
- Paracord: Choose a high-quality paracord in your desired color(s). The length will depend on the size of your dog and the length of the leash you want to make.
- Swivel snap hook: This will be used to attach the leash to your dog’s collar or harness.
- Scissors: A sharp pair of scissors will be essential for cutting the paracord to size.
- Lighter: A lighter will be used to seal the ends of the paracord to prevent fraying.
- Measuring tape: This will help ensure your leash is the desired length.
Step 1: Measure and Cut the Paracord
Start by determining the desired length of your dog leash. A standard length is around 6 feet, but you can adjust according to your preference. Use the measuring tape to measure and mark the length on the paracord. Then, use the scissors to carefully cut the paracord to size.
Step 2: Prepare the Paracord Strands
For a sturdy leash, you’ll want to use multiple strands of paracord. The number of strands will depend on the thickness of your paracord and the desired thickness of the leash. For a standard leash, three strands should suffice. Once you’ve decided on the number of strands, cut them to the same length as your first piece of paracord.
Step 3: Join the Paracord Strands
Gather all the strands of paracord together at one end and tie a knot to join them. Leave a small loop at the end, as this will be where you attach the swivel snap hook later on. Make sure the knot is tight and secure.
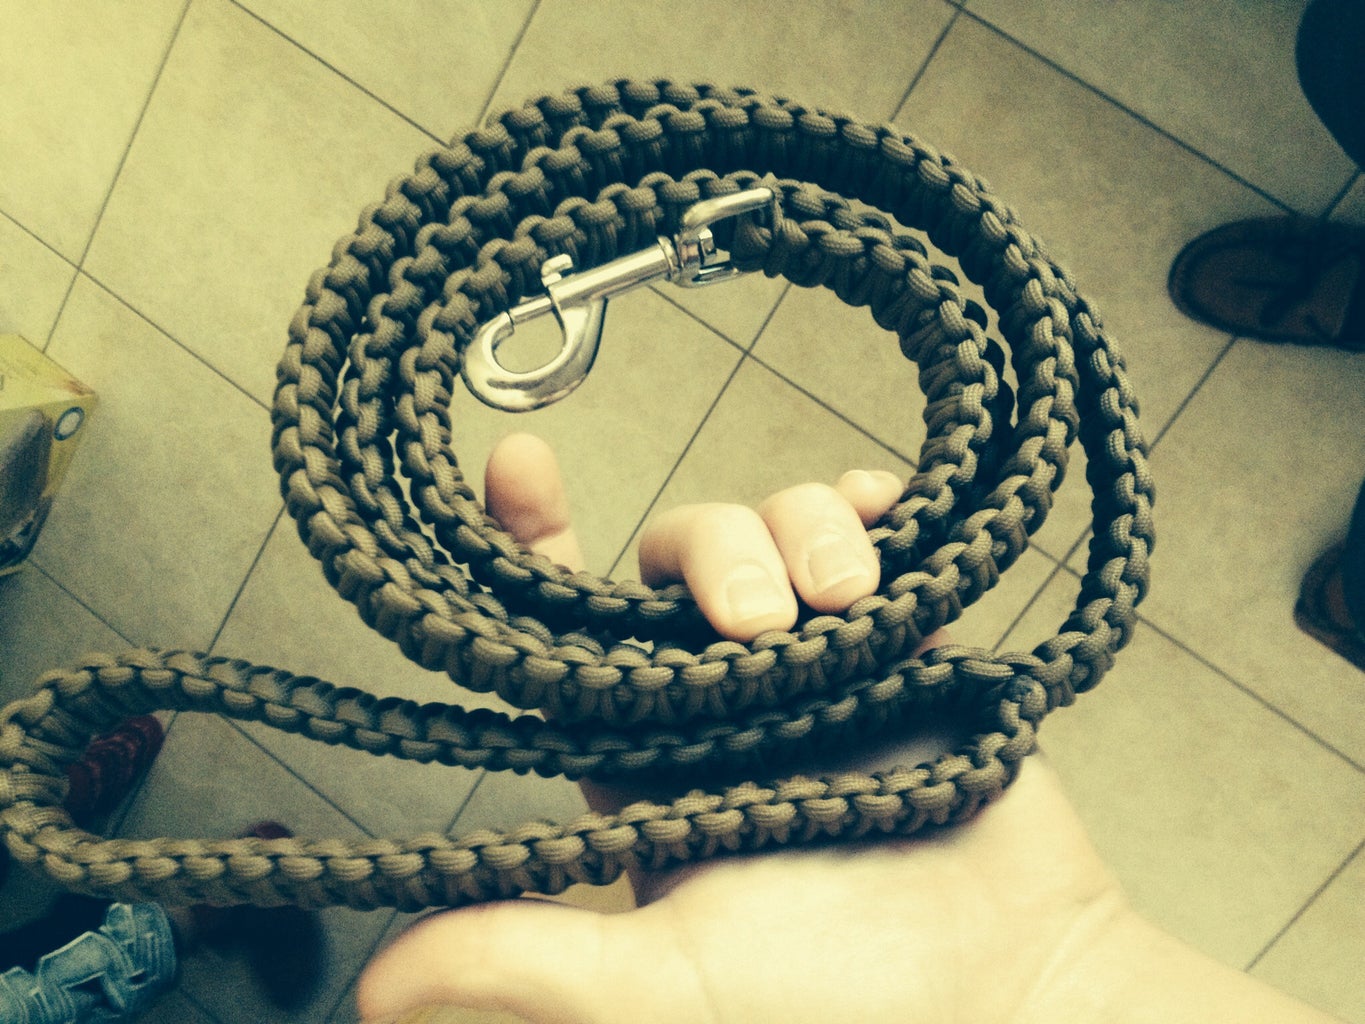
Step 4: Start the Braiding Process
Divide the strands into three equal sections. Begin braiding the strands together, making sure to keep the tension consistent throughout. You can use a simple braiding technique or experiment with more intricate patterns for added flair.
Step 5: Continue Braiding
Continue braiding the strands until you reach the desired length of the leash. Periodically check the length against your measurements to ensure accuracy. Remember to keep the braiding tight to maintain the leash’s strength.
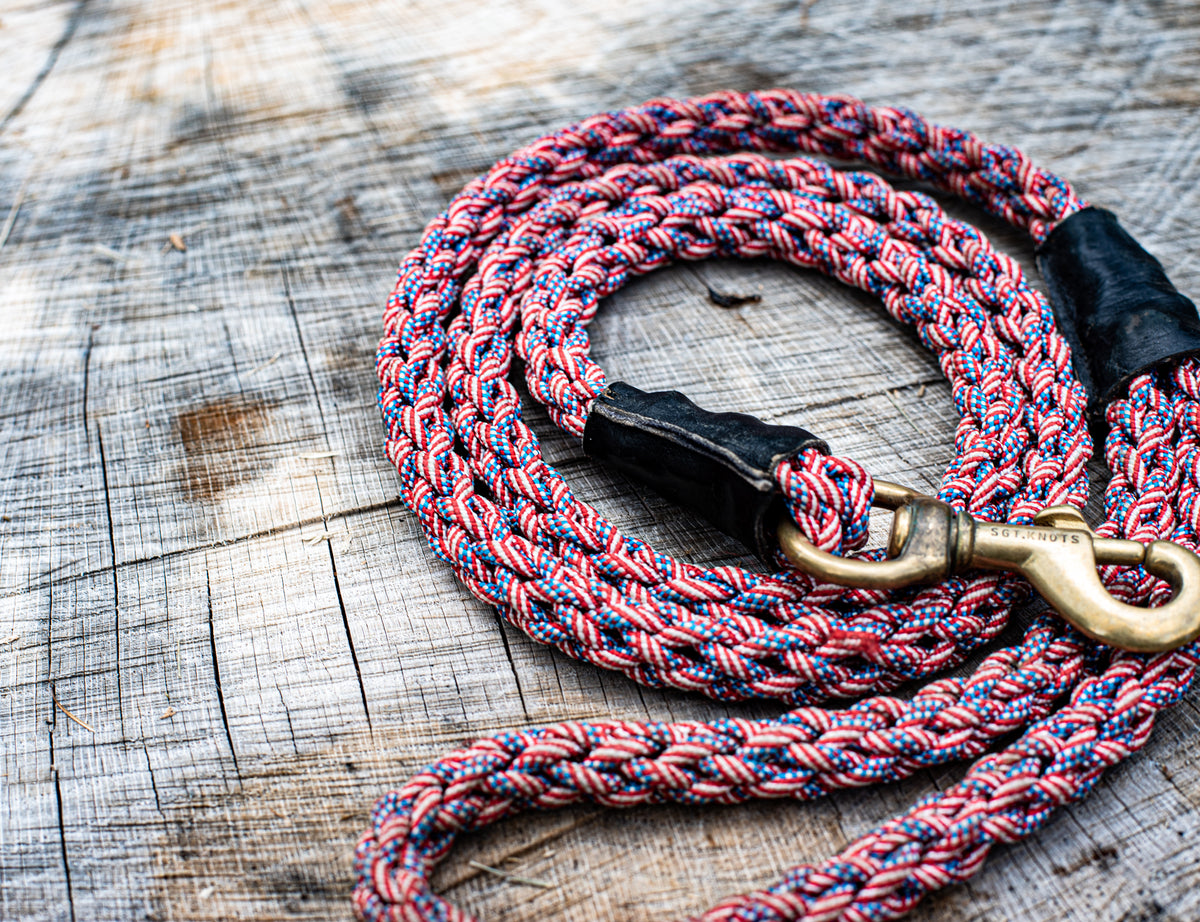
Step 6: Attach the Swivel Snap Hook
Once you’ve reached the desired length, it’s time to attach the swivel snap hook to the end of the leash. Thread the looped end of the leash through the swivel snap hook and then pull the loose ends of the paracord through the loop. Pull tight to secure the hook in place.
Step 7: Seal the Ends
To prevent fraying, use the lighter to carefully melt the ends of the paracord. Be sure to do this in a well-ventilated area and exercise caution to avoid burns. Once the ends are melted, press them against a flat surface to seal them securely.
Step 8: Test the Leash
Before using the leash with your dog, give it a thorough inspection to ensure all knots are secure and the paracord is tightly braided. Attach it to your dog’s collar or harness and take them for a test walk to ensure the leash is strong and comfortable to use.
Tips for Customizing Your Paracord Dog Leash
Now that you’ve mastered the basics of crafting a paracord dog leash, here are some tips for customizing it to suit your preferences and needs:
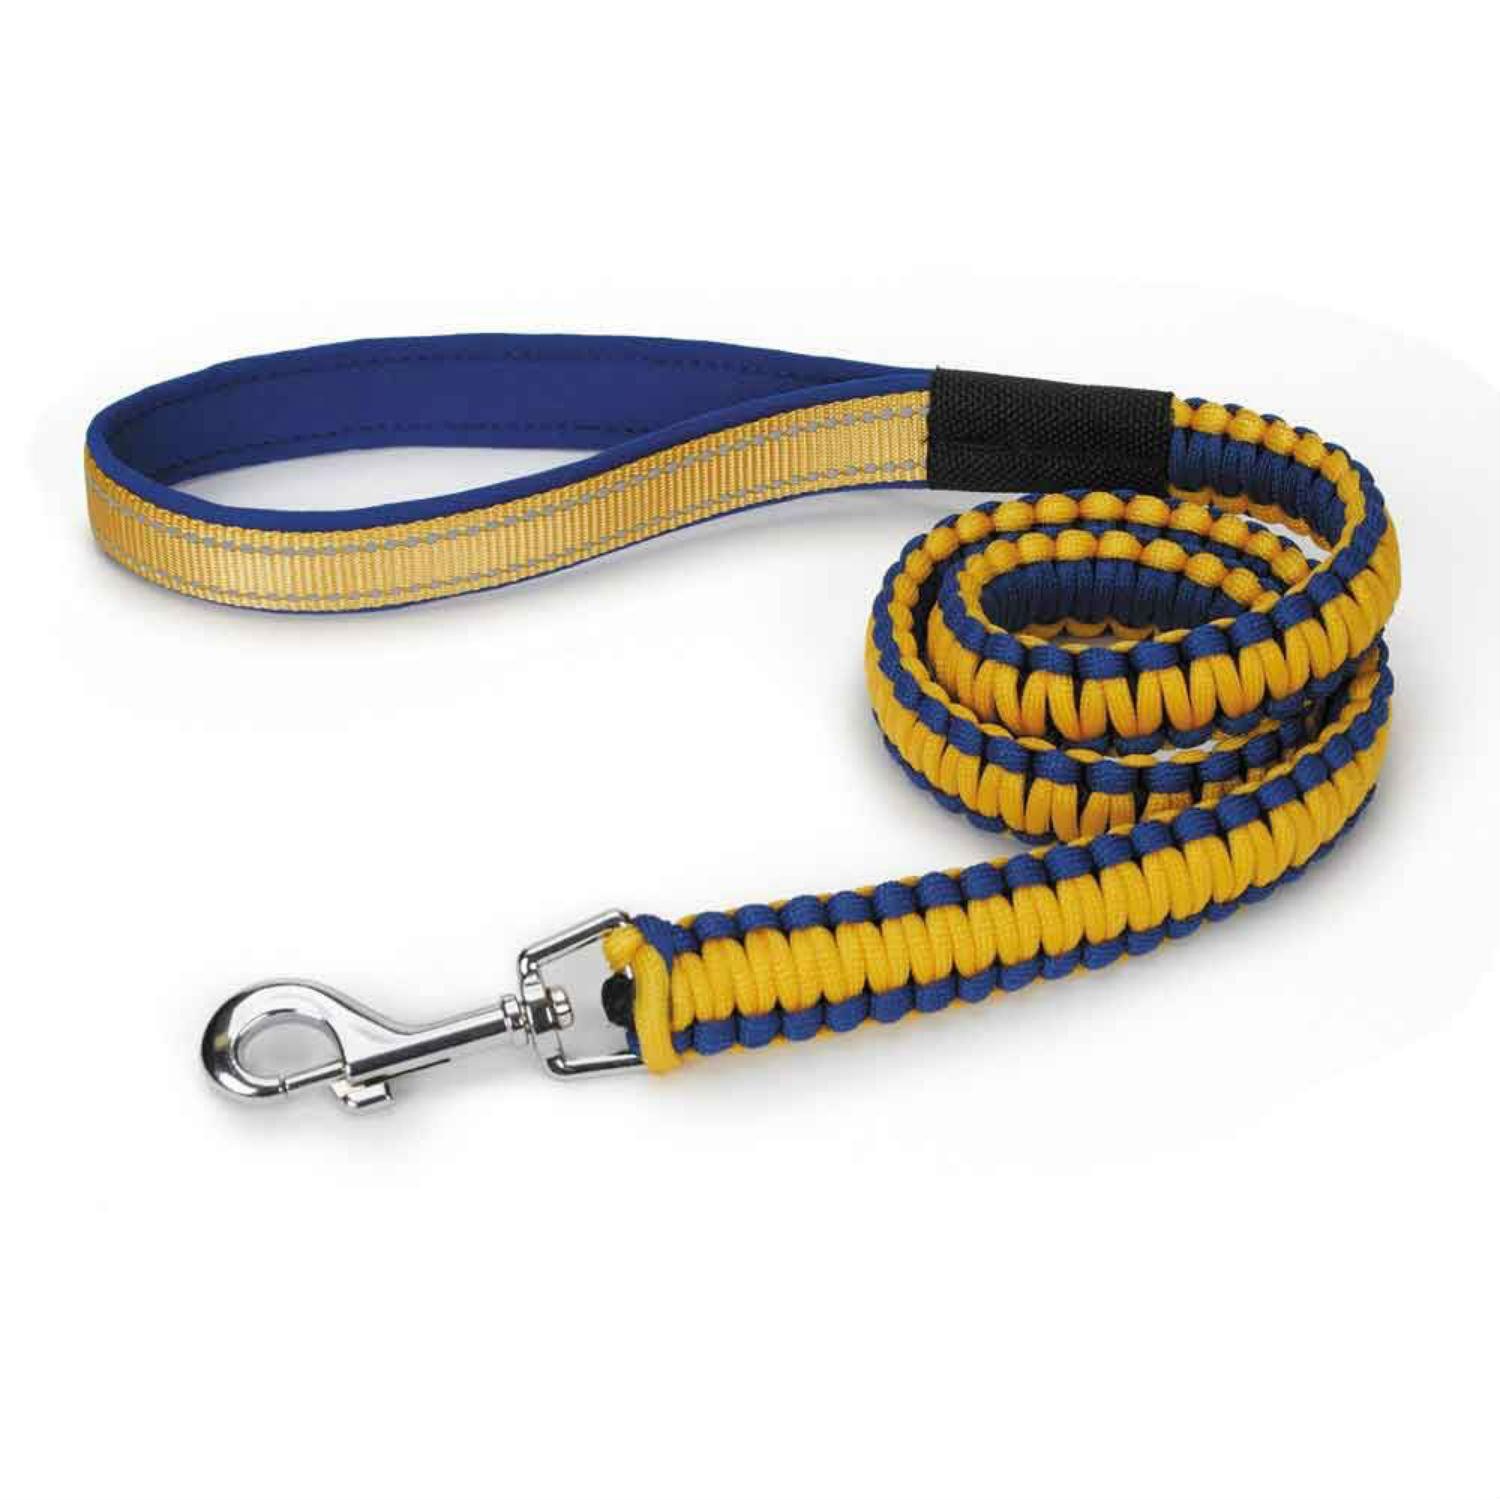
1. Experiment with Colors: Paracord comes in a wide array of colors, so don’t be afraid to mix and match to create a leash that reflects your dog’s personality or matches their collar.
2. Add Reflective Elements: For added safety during nighttime walks, consider incorporating reflective paracord into your leash design. This will help increase visibility and keep you and your dog safe during low-light conditions.
3. Personalize with Beads or Charms: Add a personal touch to your leash by incorporating beads or charms that reflect your dog’s name, interests, or your own style. This is a great way to make your leash stand out and add a unique flair.
4. Experiment with Braiding Patterns: Once you’ve mastered the basic braiding technique, experiment with different patterns to create a truly one-of-a-kind leash. From simple twists to intricate knots, the possibilities are endless.
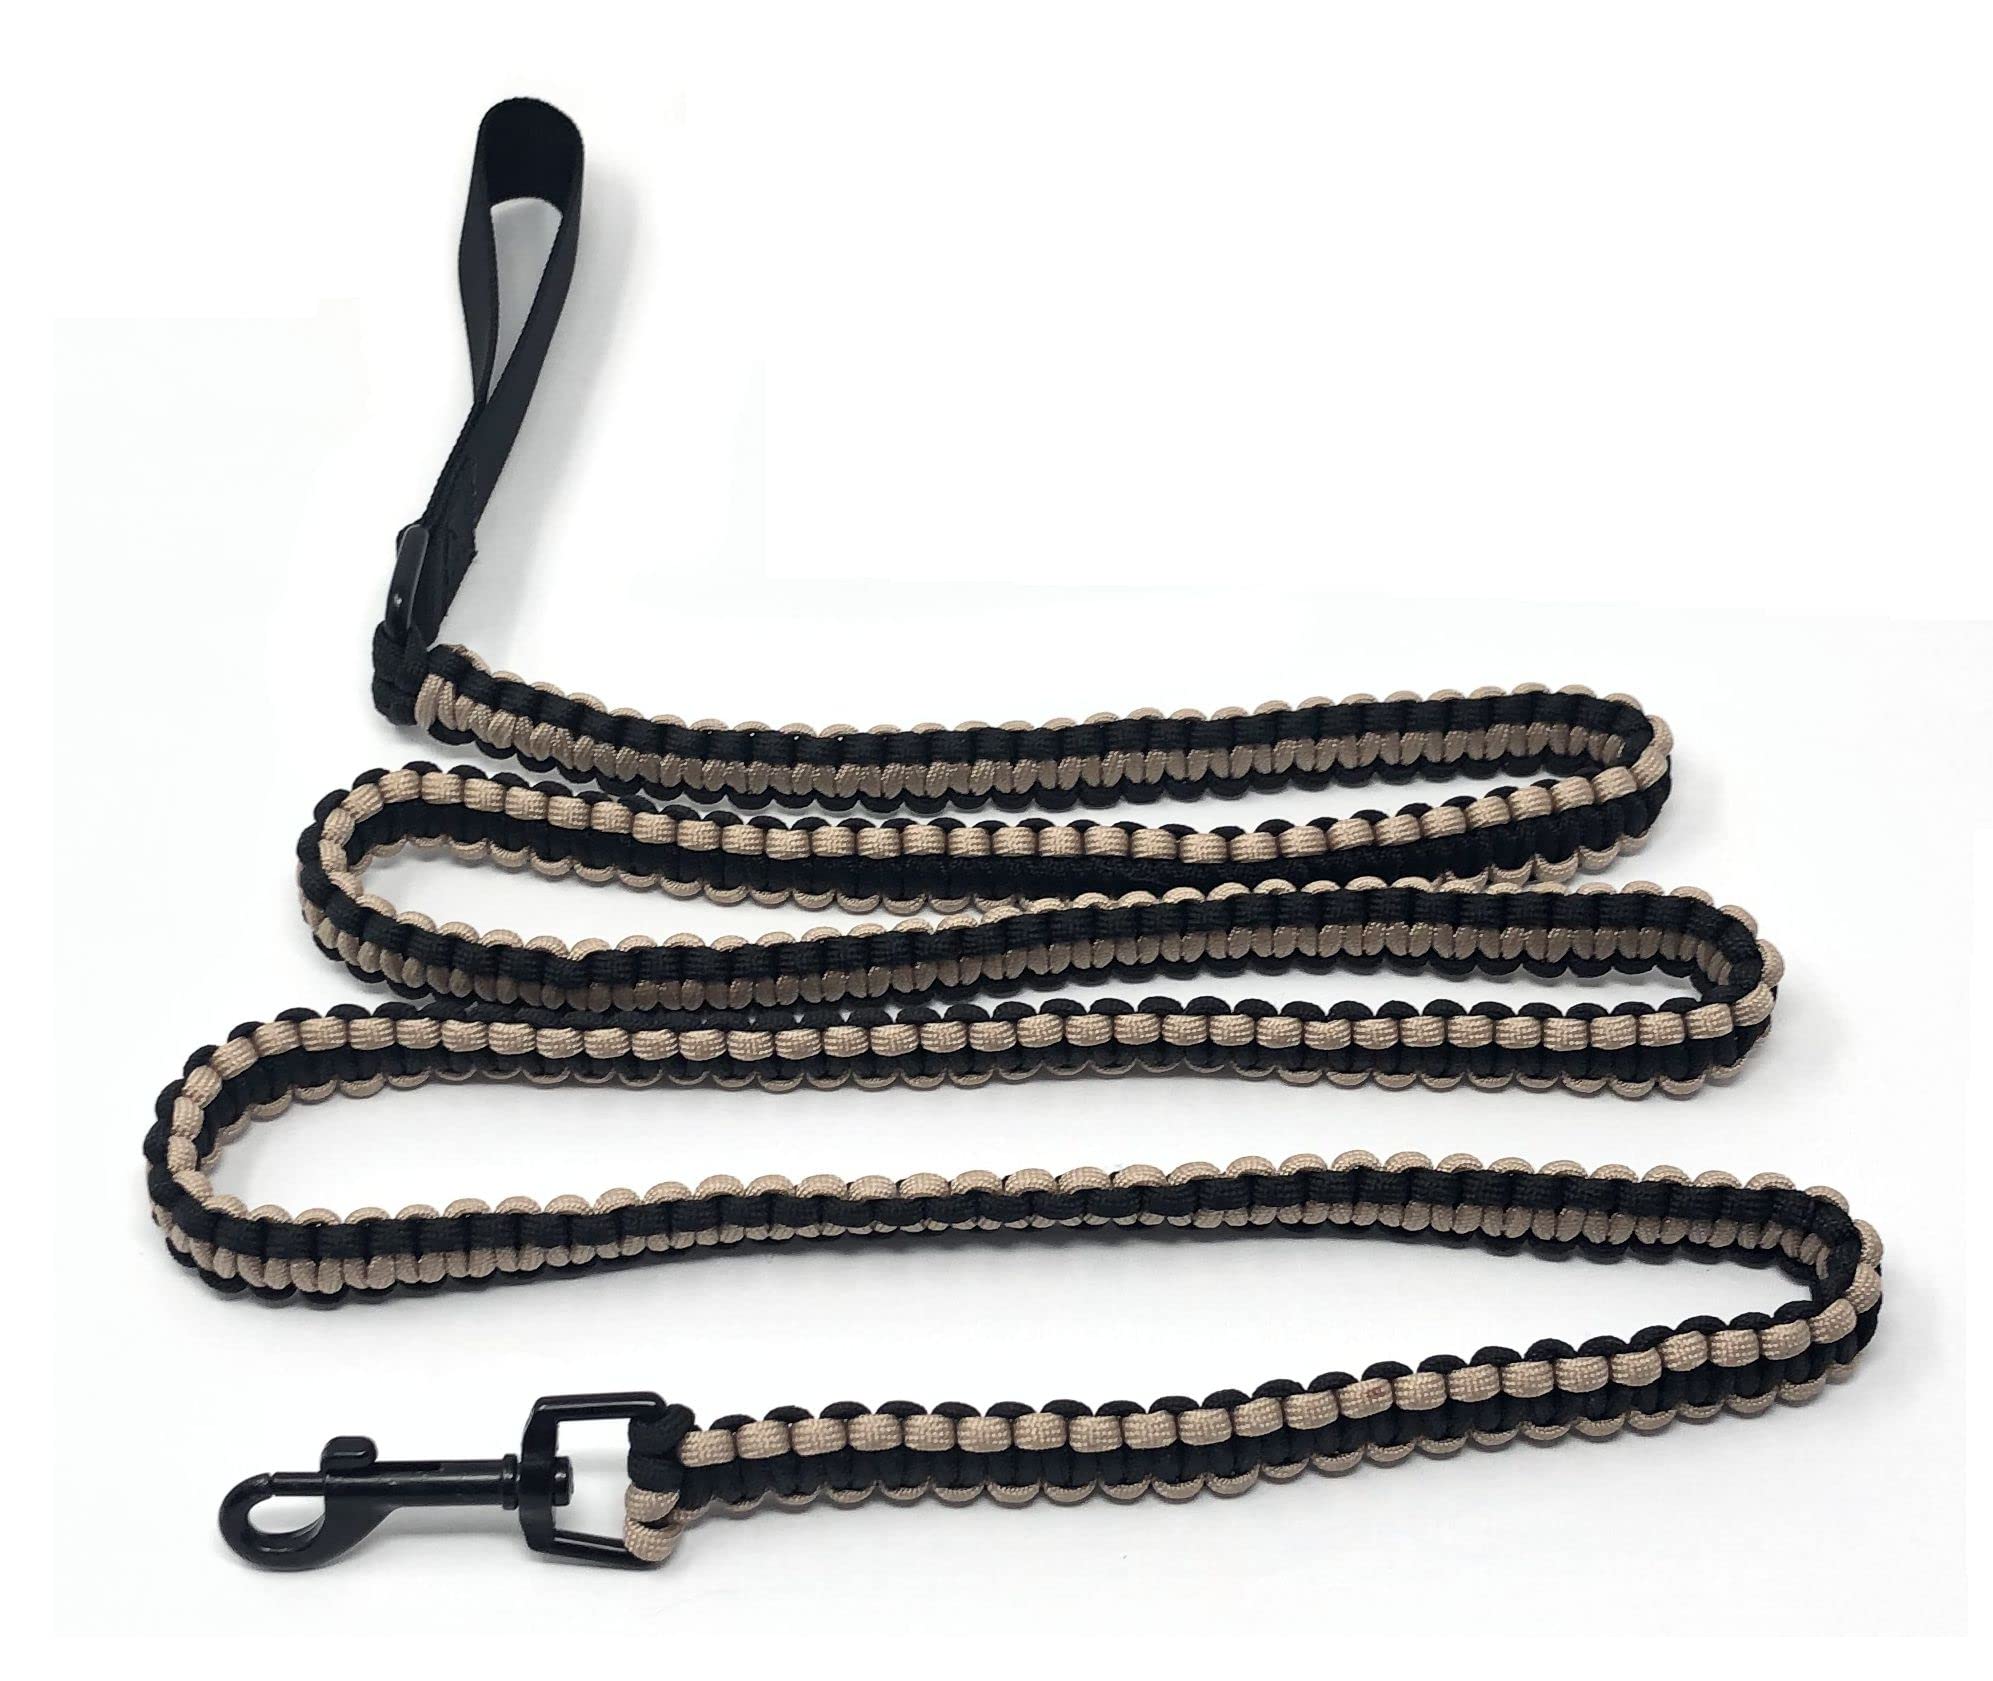
5. Consider Adding Handles: If you have a strong or energetic dog, adding a second handle to your leash can provide added control and stability during walks. Simply create a loop near the swivel snap hook for a secondary grip.
6. Incorporate Utility Features: Paracord is not only strong but also incredibly versatile. Consider adding utility features such as a built-in waste bag dispenser or a small pouch for carrying treats or keys.
7. Make Matching Accessories: Once you’ve crafted your paracord leash, why not make matching accessories such as a collar, harness, or even a wrist strap for yourself? This cohesive look will not only be stylish but also practical.
8. Practice Proper Care: To ensure your paracord leash stays in top condition, regularly inspect it for any signs of wear or damage. Clean it as needed with mild soap and water, and store it in a cool, dry place when not in use.
Final Thoughts
Crafting your own paracord dog leash is not only a fun and rewarding DIY project but also a practical way to ensure you have a durable and personalized accessory for your furry friend. With a little creativity and experimentation, you can create a leash that is as unique as your dog’s wagging tail. So gather your materials, unleash your creativity, and enjoy the process of crafting a leash that you and your pup will love for years to come.
Conclusion: Enjoy Your Handcrafted Paracord Dog Leash
Congratulations! You’ve successfully crafted your own paracord dog leash. Not only is it a practical accessory for walking your furry friend, but it’s also a reflection of your creativity and craftsmanship. Experiment with different colors and patterns to make leashes for all occasions, and enjoy the bond you’ll share with your dog during your walks together.